

I wanted some larger-sized carrots to decorate some Easter-themed treats. And some identical, but tinier-sized carrots for a matching card.
The carrots went great. Exactly to plan. They turned out just as I had hoped. And they were super-simple too. I've put a tutorial to show you how I made them at the end of this post : )
My gift-wrapped Easter Treats did too. You can see those later as well.
But my card, didn't turn out at all as I expected. As soon as I laid my tiny little carrots on my card base, which was one of my favourite Chalk Square Recycled Card Bases from Paperchase, I knew immediately it was a card for a gardening Grandad.


Isn't it? Not at all what I had expected to make. But I love it all the same.
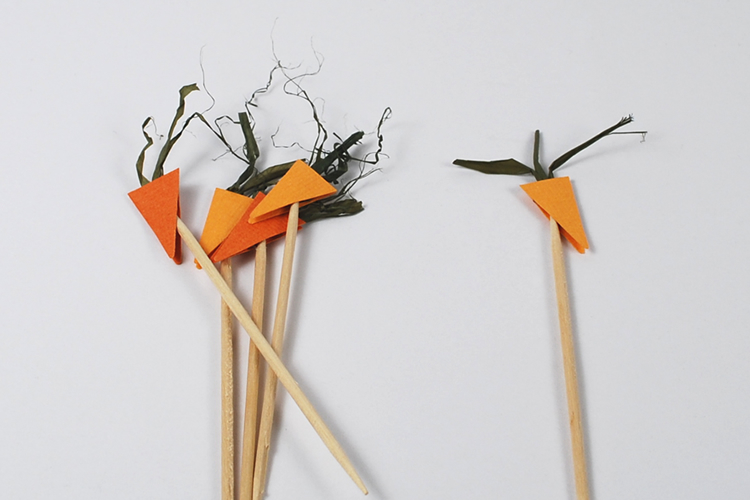
This is how I made the carrots …
TUTORIAL

Orange card, cut or punched into triangles
Strong adhesive tape
Green Raffia
1. Cut some strips of raffia, and, grouping them together in the centre, tape them to the reverse side of one of your carrot shapes.


I used mine to make these little cupcake toppers …

… & decorate these little Easter treat bags made from Kraft Paper a la this.
Sweet!

Card Credits
Card Base: Chalk Square Recycled Card Base. From Paperchase
Sentiments: Stamped
Adhesive: 'Stick-It Permanent Adhesive Roller. By DoCrafts.
Triangle Punch: Woodware Super Duper Triangle Punch(Lilac))
Orange Card, Kraft Button Twine, Adhesive Tape, Green Raffia
Oh this is truly one lovely creation so beautifully presented xx
ReplyDeleteSimply ingenious. Fab card. AND sentiment
ReplyDeleteFabulous! Inspired! X
ReplyDeleteSo cute! Love the little carrots for the card in particular! Great idea!
ReplyDelete